Maintaining the appearance and resale value of your car depends on keeping the leather seats in perfect condition. On the other hand, poor cleaning techniques may result in fading, cracking, or other problems. We’ll go over how to properly clean leather car seats without damaging them in this post. To assist you maintain the interior of your car for many years to come, we’ll also go over the best auto leather treatments, professional detailing methods, and best-rated cleaning supplies.
The Importance of Frequently Cleaning Leather Car Seats

Compared to fabric seats, leather automobile seats need particular maintenance. They are more prone to deterioration, and early aging can result from exposure to dirt, body oils, and UV radiation. You can keep your leather seats opulent and cozy by routinely cleaning and conditioning them to avoid cracking, discolouration, and loss of suppleness.
The car’s interior becomes fresher and healthier with routine maintenance, which also helps get rid of allergies and germs that might build up on the seats. It is even more important to keep your leather seats clean and well-protected from spills, scratches, and grime if you regularly drive with children or pets.
A Comprehensive Guide to Leather Car Seat Cleaning
Step 1: Assemble the Required Cleaning Materials
You’ll need the following to clean your leather seats properly:
- An excellent leather cleaner, like Rush Leather Cleaner
- A soft sponge or microfiber cloth
- A brush with soft bristles
- A conditioner for leather
- A brush attachment for a vacuum cleaner
- Gentle soap (if required)
- Water with distilled alcohol
- UV-resistant leather protectant
- A gentle drying towel
Step 2: Vacuum the Seats
Use a vacuum with a brush attachment to clean the leather seats of any loose dust, debris, and filth before using any cleaner. By doing this, you may start cleaning without scratching the surface.
As dirt and grime tend to accumulate over time, be sure to reach into the nooks and crannies. For confined locations, a handheld vacuum with a narrow nozzle may be helpful.
Step 3: Apply a Leather Cleaner
Use a Leather Cleaner On a microfiber cloth, dab or dab a tiny bit of a premium leather cleaner, such as Rush Leather Cleaner, (not directly onto the seat). Wipe the surface gently in circular motions, paying particular attention to areas that have been heavily used or discolored. Steer clear of using too much moisture as this might damage the leather by soaking into it.
To properly break down dirt and oils, let the cleaner sit for a minute before wiping it off for deep cleaning.
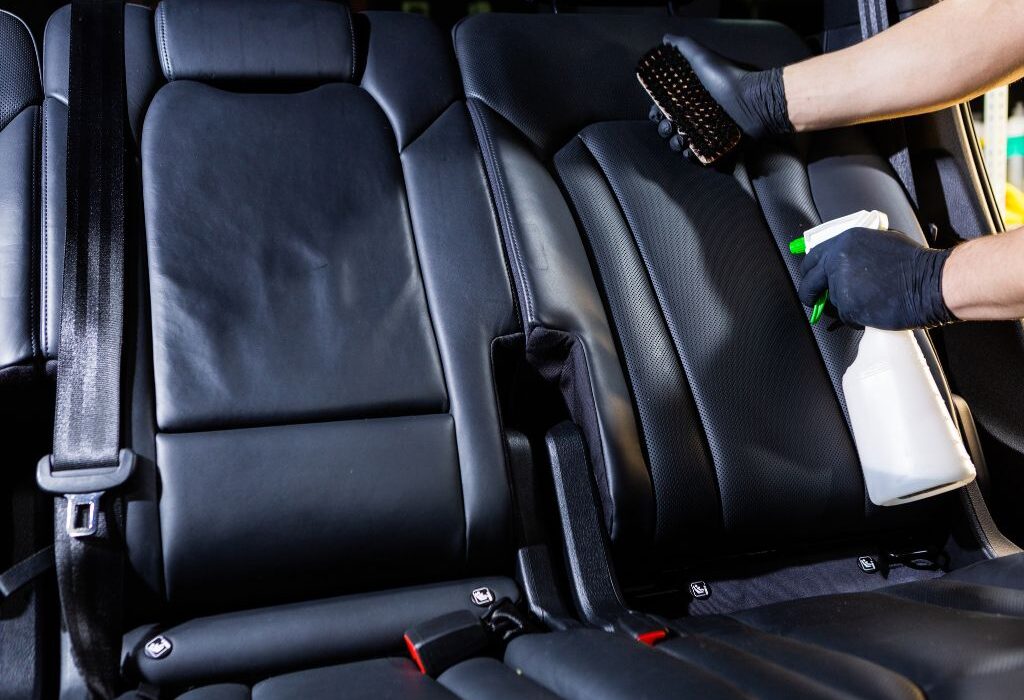
Step 4: Gently Scrub (If Necessary)
Use a soft-bristled brush to gently scrub the leather to remove tough stains or dirt accumulation. Steer clear of vigorous cleaning as this may cause the protective layer to fade and get damaged.
Use a specialist leather ink remover if you’re dealing with ink stains. Before using a leather cleaner to remove grease spots, talcum powder or cornstarch might help absorb the oil.
Step 5: Remove Any Extra Cleaner
Any leftover cleaner can be removed from the leather with a fresh, dry microfiber cloth. Before moving on to the following stage, make sure the surface is completely dry.
Step 6: Repair the Leather
Conditioning leather is a crucial step in preserving the material’s suppleness and durability. Using a microfiber cloth, evenly distribute a tiny amount of the best vehicle leather treatment available. For a polished finish, let it absorb for a few minutes and then buff it with a fresh towel.
Also learn about: Why Every Car Owner Should Invest in Car Detailing
Frequent conditioning keeps leather from becoming dry and cracking. If you live in a hot or dry area, where leather might lose its natural oils more quickly, this step is very important.
Step 7: Apply Leather Protectant
Use a leather protectant with UV protection to provide an additional line of defense against deterioration. If your car is regularly exposed to direct sunshine, this procedure helps prevent fading and sun damage.
Step 8: Let the Seats Dry
Allow the seats to naturally air dry. To prevent cracking and fading, keep them out of direct sunlight and away from heat sources.
Top Car Leather Treatments for Durable Defense

Purchasing a high-quality auto leather treatment is essential to guaranteeing that your leather seats stay in excellent condition. Here are a few well regarded choices:
- Rush Leather Conditioner: Prevents fading and splits while hydrating and protecting leather.
- Chemical Guys Leather Conditioner provides a non-greasy finish together with deep conditioning.
- One well-liked option for long-term leather care is Lexol Leather Conditioner.
- Meguiar’s Gold Class Leather Conditioner softens leather and offers UV protection.
- Maintaining a soft and smooth texture is made easier with Weiman Leather Cleaner & Conditioner.
Additional Tips for Washing Leather Car Seats
- Steer clear of harsh chemicals. Avoid using bleach, ammonia, and alcohol-based cleansers since these can remove the leather’s natural oils.
- Use Distilled Water: Minerals found in tap water can discolor leather upholstery.
- Do a Spot Test: To be sure a cleanser or conditioner won’t discolor the upholstery, test it on a hidden area of the seat before using it.
- Spills should be cleaned right away. Coffee, drink, and other liquids can quickly seep into leather and leave stains, so it’s best to clean them out right once.
- Protect From UV Rays: To avoid fading and drying, use a sunshade or apply a UV protectant.
- Use a Leather-Specific Wipe: Leather cleaning wipes can assist remove surface oils and dirt without drying out the material, making them ideal for touch-ups while you’re on the road.
Typical Errors to Avoid When Leather Seat Cleaning
- Ignoring Routine Maintenance: To preserve its integrity, leather has to be cleaned and conditioned at least once every month.
- Using Too Much Water: Over time, excessive moisture can lead to leather cracking.
- Inadequate Conditioning: Leather may become dry and brittle if it is not properly conditioned.
- Scrubbing too vigorously may cause scratches and the protective layer to fade.
- Making Use of Household Cleaners Leather can be harmed by the harsh chemicals included in many generic cleansers.
- Leaving Cleaning materials on for Too Long: If cleaning materials are not thoroughly removed, they may leave behind that causes discoloration or stickiness.
In conclusion
Proper cleaning of leather car seats guarantees their longevity and maintains the inside of your vehicle looking like new. You can preserve smooth, opulent, and damage-free leather seats for many years to come by following the above instructions and using premium products like Rush Leather Cleaner and the best vehicle leather treatment choices.
Visit Autos Advise and look through our in-depth guides on interior maintenance, automobile detailing, and other topics for additional professional advice and car care ideas!